Form templates need various fields defined and created on the blank (not filled-in) original form. These fields define the type of image operations and text recognition that is performed against your filled-in forms during forms processing.
The five field types are:
| Field Type | For an overview ... | For steps on how to create the field type ... |
| ICR | ICR | ICR Fields |
| OCR | OCR | OCR Fields |
| OMR | OMR | OMR Fields |
| Barcode | Barcode | Barcode Fields |
| Clip | Clips | Clip Fields |
 |
To ensure best results, the blank form image to be used as a template, should be as clean as possible so the image and text recognition processing is as accurate as possible. See the Image Enhancement topic for more information. |
 |
For information on the defined window areas and tools, see the General FormAssist Usage topic in the Concepts section. |
Steps to Define, Create, and Modify Fields
-
Create a template as described in the Define and Create Templates topic.
-
Define a field by selecting the corner of the field in the Image View on the form image with your mouse and drag to the diagonal corner.

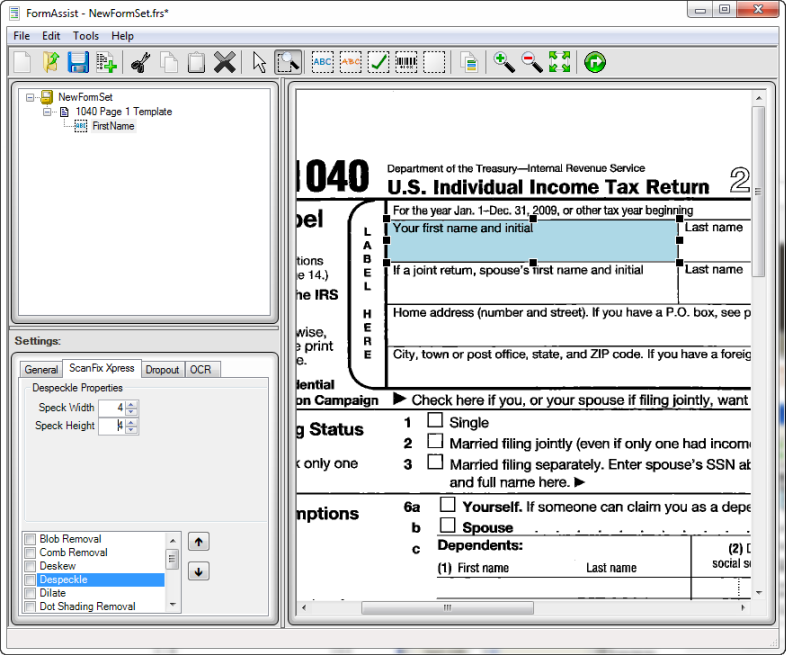
The example below is defining an OCR field for the first name area on the original form. All field types are defined this same way.
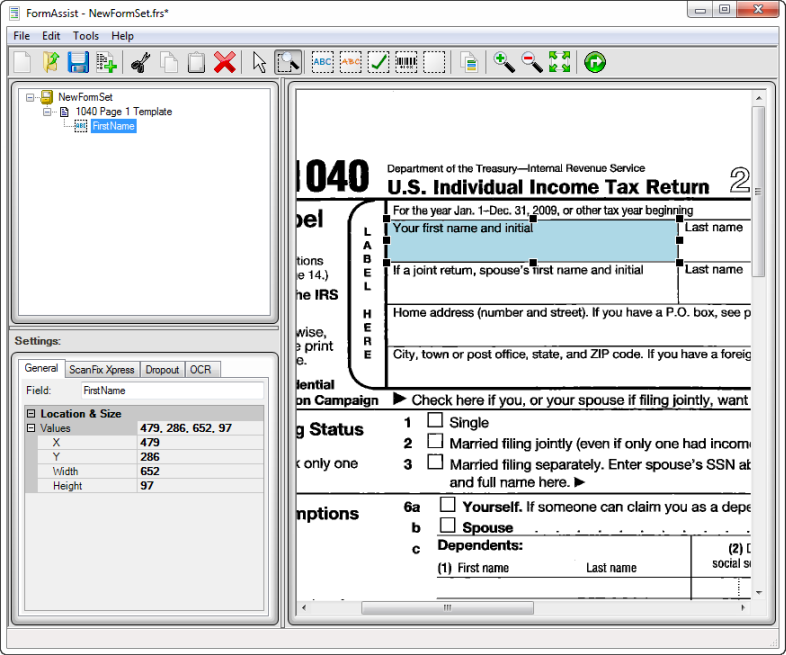
The defined field will highlight in blue so it's obvious what area is defined on the form. This field can be modified at any time which will modify the area values displayed in the Properties View. Likewise the field area values may be modified in the Properties View which will modify the highlighted field area in the Image View.
A field name is added in the Tree View. This name can be modified at this location or in the Properties View Field text box as shown below:
Adjust the settings for ScanFix Xpress image operations by selecting the ScanFix Xpress tab in the Properties View, as shown below. For best results, clean up the field area image using the ScanFix Xpress image operations as applicable. See the Image Enhancement and Dropout topics for more detailed information on image clean up. See the ScanFix Xpress Properties topic for details on each setting.

-
Modify the Dropout Properties
-
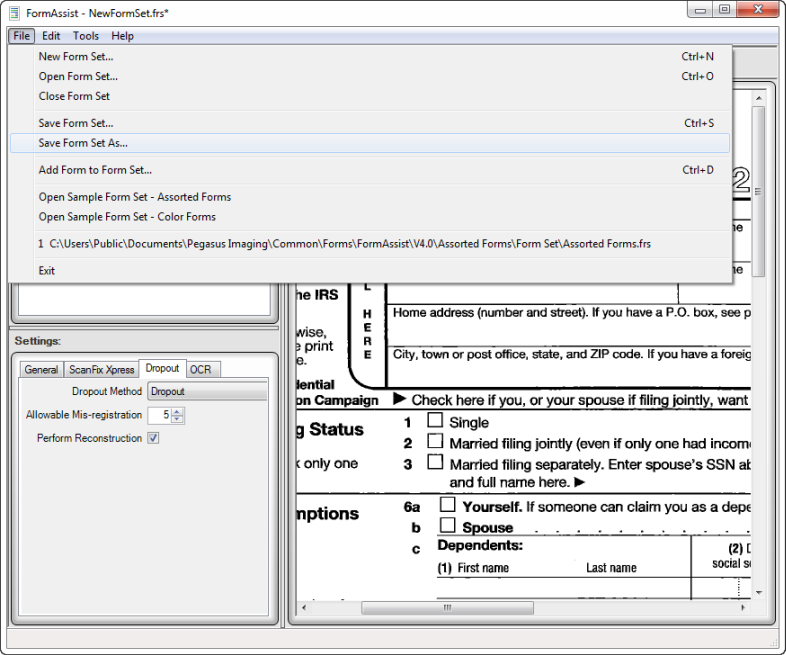
Select Save Form Set As... or Save Form Set...
Once your field or fields are defined and all your property settings have been set, make sure and save your form set if you haven't done so already. You can continue to modify, create and delete templates, fields and properties at any time.

In this example, the form set was saved as Sample Form Set.frs, as displayed in the title bar of the window.
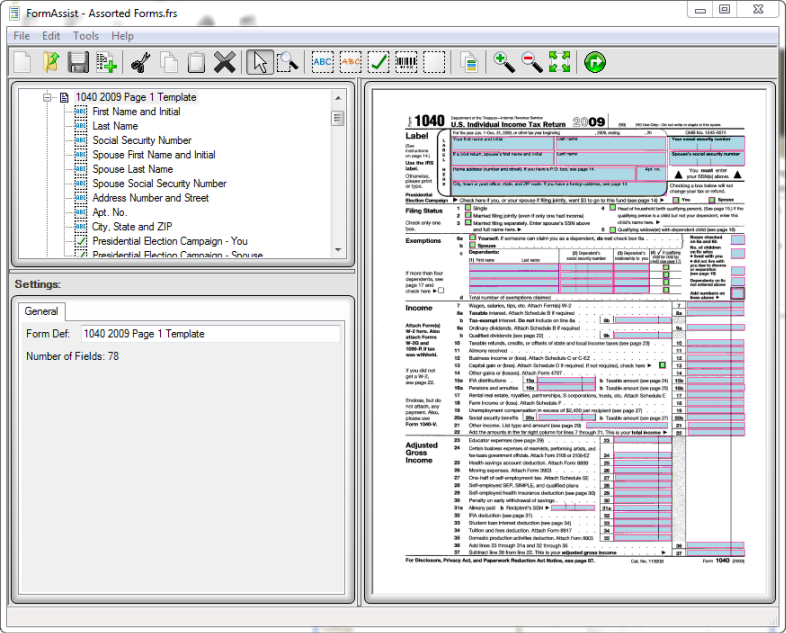
The image above displays an example of some of the field types defined and created on the template, 1040 Page 1 Template, within the Form Set, Assorted Forms.


